
Table of Contents
Can You Install a Garage Door Opener Yourself?
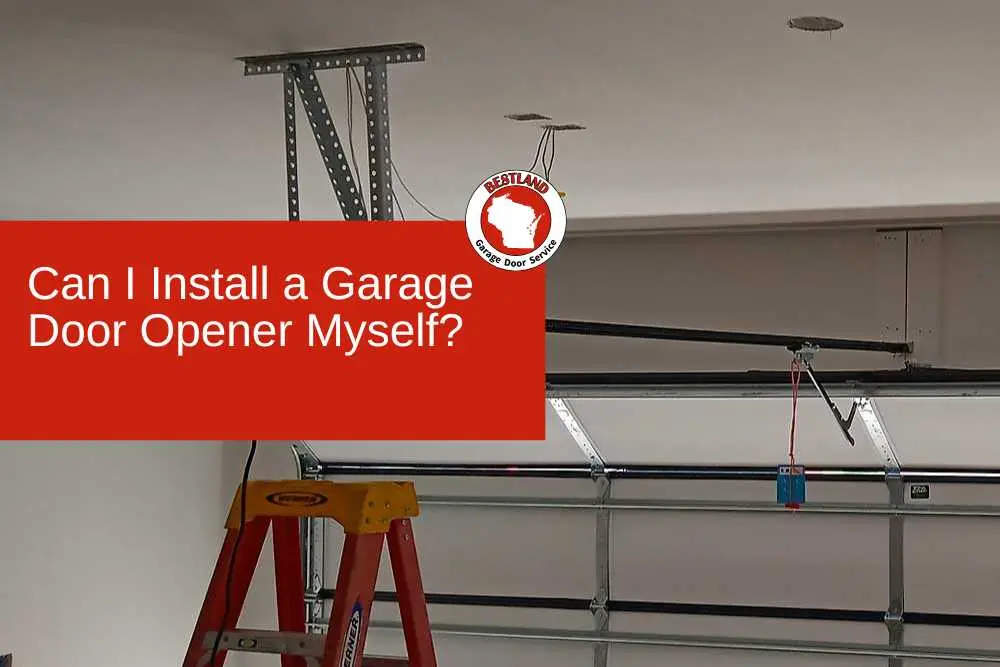
Yes, a handy homeowner can install a garage door opener. Opener kits come with instructions, and plenty of people have done it on a Saturday. The better question is whether you should, and the answer depends on your door, your tools, and how comfortable you are working overhead next to a door that weighs a few hundred pounds.
An opener does not actually lift the door. The springs do the heavy lifting, and the opener guides the door up and down. That means a good install depends on a door that is already balanced, springs that are in good shape, and safety settings that are adjusted correctly. If any of those pieces are off, a brand new opener can wear out early or create a real safety hazard.
Below, we walk through what the job involves, where DIY installs usually go wrong, and when it makes sense to call a professional in Appleton, Green Bay, and the rest of Northeast Wisconsin.
What a DIY Garage Door Opener Installation Involves
Most residential opener installs follow the same basic steps:
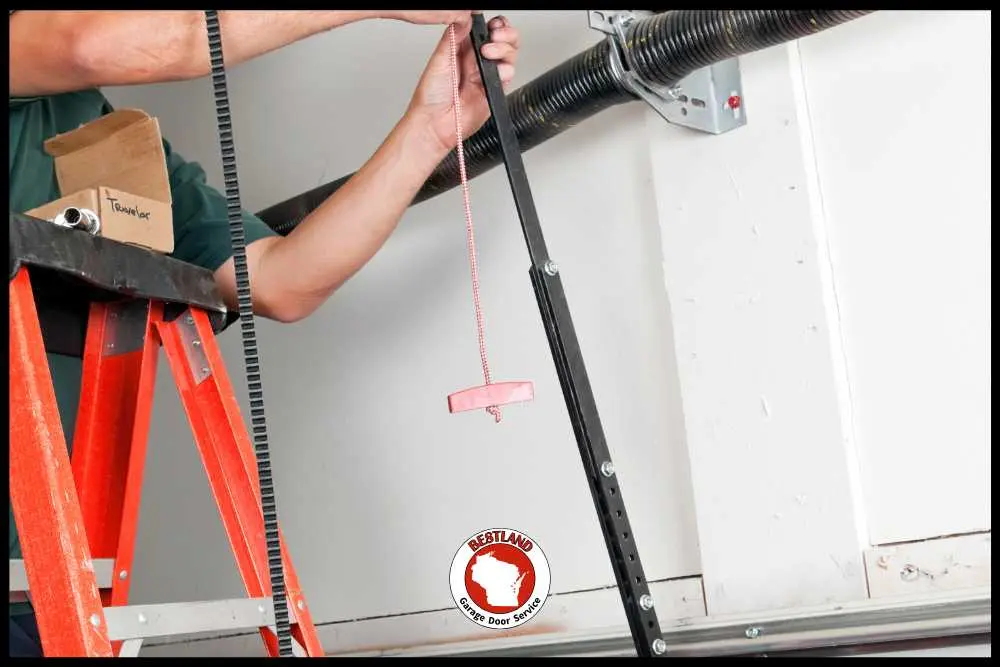
- Assembling the rail and attaching the trolley and drive (chain, belt, or screw)
- Mounting the header bracket above the door and securing it to solid framing
- Hanging the motor unit from the ceiling joists with angle iron or straps
- Attaching the door arm to the top section of the door
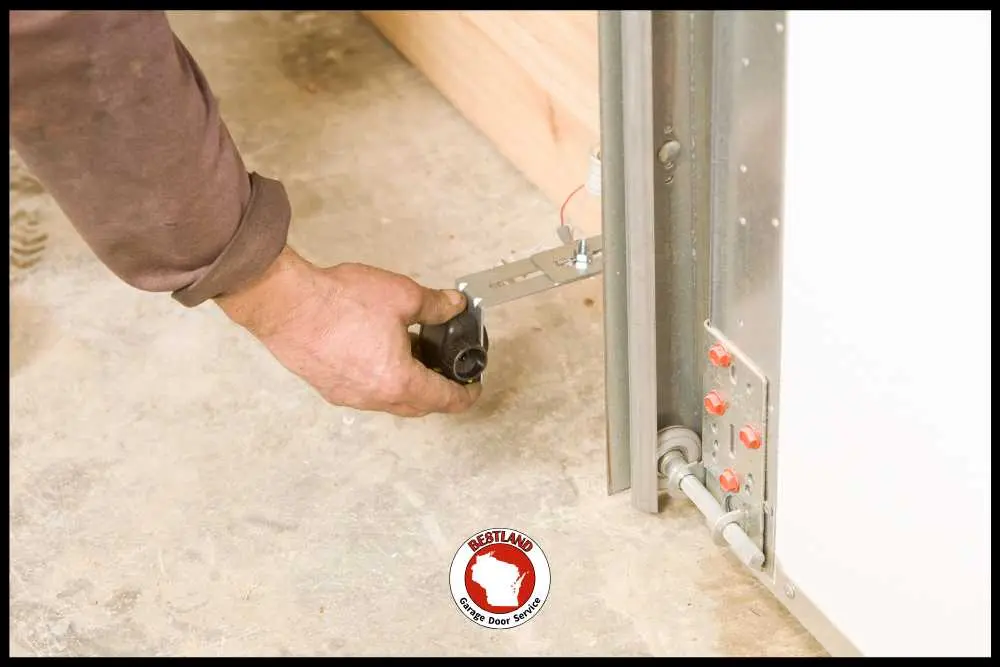
- Installing and aligning the safety reverse sensors near the floor
- Mounting the wall button and running low voltage wire
- Setting the travel limits and force settings, then testing the safety reverse
- Programming remotes, keypads, and any smart home features
Plan on a full afternoon or more for a first time install. You will need two ladders, a drill, a socket set, a level, and usually a second person to help hold the motor unit in place. If there is no outlet near the ceiling, you will also need an electrician, because the opener should plug into a properly grounded outlet, not an extension cord.
Replacing an Old Opener vs. a First Time Install
Replacing an existing opener is usually easier than installing one where none existed. The outlet, the sensor wiring path, and the mounting points are already in place, although the brackets, sensors, and wire often need to be swapped to match the new unit.
A first time install is a bigger project. You may need to add blocking or bracing to the ceiling, run new wire, add an outlet, and make sure the top section of the door is strong enough to handle the opener arm. Lightweight doors often need a reinforcement strut so the opener does not bend the top panel.
Either way, an opener is only as good as the door it is attached to. If your door is heavy to lift by hand, drifts down when you let go halfway, or makes grinding noises, that problem needs to be fixed before any opener goes up.
Safety Risks to Take Seriously
Most DIY opener problems come from the same few areas:
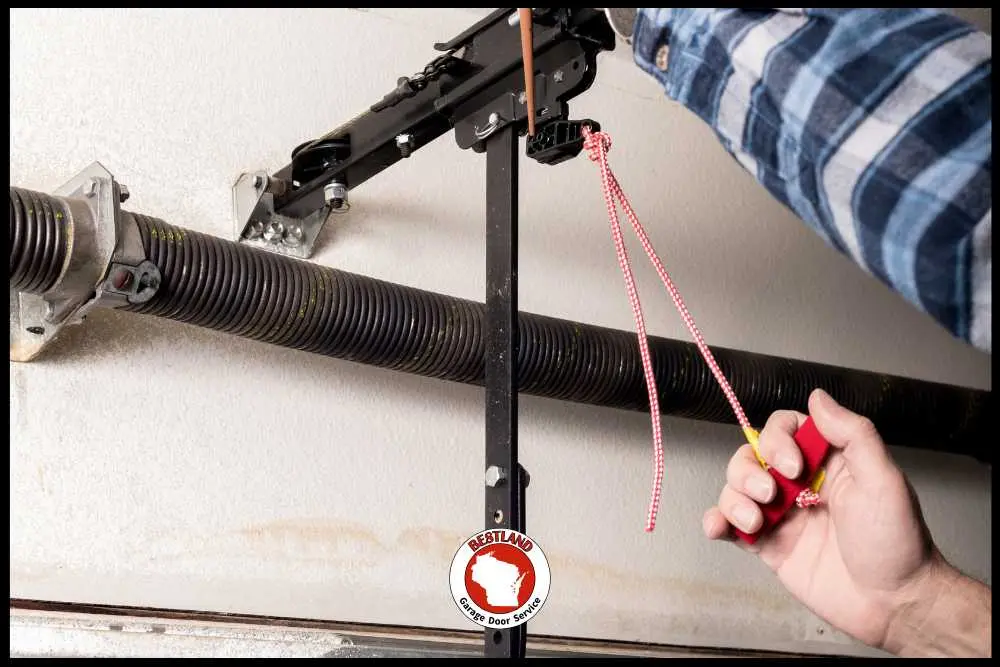
- Spring tension. If the door is out of balance, the opener strains on every cycle. Adjusting torsion springs is dangerous and should never be a DIY job. Learn more about garage door spring repair.
- Safety sensor alignment. Federal safety standards have required photo eye sensors on residential openers since 1993. If the sensors are mounted too high, misaligned, or bypassed, the door may not reverse when a child, pet, or car is in the way.
- Force and travel settings. Settings that are too strong can crush an object instead of reversing. Settings that are too weak make the door stop and reverse for no reason.
- Weak mounting. A motor hung from drywall or a header bracket screwed into thin trim can tear loose over time.
- Electrical work. Adding an outlet or hardwiring a unit is a job for a licensed electrician.
Once your opener is in, test the safety reverse every month by laying a piece of 2×4 flat on the floor under the door. If the door does not reverse when it touches the board, stop using the opener and have it adjusted.
Warranty and Manufacturer Considerations
Read the warranty before you start. Some opener and door manufacturers limit coverage when a product is not installed according to their instructions, and some premium openers are sold only through professional dealers. Either way, keep your receipt, the model number, and the installation manual somewhere safe.
When Bestland installs an opener, we handle the setup, safety testing, and programming, and we can answer your warranty questions on the products we install, including the Sommer and Linear openers we recommend.
Signs You Should Call a Professional
DIY can make sense for a simple replacement on a healthy door. Call a professional if any of these apply:
- The door is hard to lift by hand or will not stay put when it is halfway open
- The springs or cables look worn, rusted, stretched, or broken
- There is no outlet near the ceiling
- Your garage ceiling is unfinished, vaulted, or extra high
- You want a wall mount opener or smart features set up correctly
- You are replacing an opener that failed early and you are not sure why
- You would rather not spend a weekend on a ladder
What Professional Opener Installation Includes
A professional install is about more than hanging the motor. Our technicians start by checking the door itself, including spring balance, cables, rollers, and hinges, so your new opener is not working against a hidden problem. Then we mount the unit to solid framing, align the sensors, set the travel limits and force, test the safety reverse, and program your remotes and keypad.
Most opener replacements take a few hours. Pricing depends on the opener model, the drive type, and whether your garage needs extra work like bracing or a new outlet, so we give you a clear quote before any work starts. Check our current coupons and specials before you book.
See the garage door openers we install, or read our guide to DIY vs. professional garage door repair.
Garage Door Opener Installation FAQs
Can I replace a garage door opener myself?
Yes, if the door is balanced and you are comfortable with the steps above. A replacement is usually easier than a first time install because the outlet and wiring are already there. Most new openers come with their own sensors and brackets, so plan to install those rather than reusing the old ones.
How long does it take to install a garage door opener?
A professional replacement usually takes a few hours. A first time DIY install often takes most of a day, especially if you need to add bracing or run new wire.
Do I need a new opener or just a repair?
An opener that is noisy, slow, or reversing at random can often be repaired or adjusted. An older unit without modern safety features, or one that keeps breaking down, is usually a better candidate for replacement.
Can I put an opener on any garage door?
Most residential sectional doors work with a standard opener. Very heavy, oversized, or one piece doors may need a specific model, and lightweight doors may need a reinforcement strut.
Get Your Garage Door Opener Installed by Bestland
If you are comfortable with tools and your door is in good shape, installing a garage door opener yourself is possible. If anything about the door, the wiring, or the safety settings gives you pause, it is worth having a professional do it right the first time.
Bestland Garage Door Service installs and repairs garage door openers in Appleton, Green Bay, De Pere, Neenah, Menasha, Kaukauna, and communities throughout Northeast Wisconsin. Call (920) 789-3667 or request service online.
Don’t settle for the rest. Work with the BEST at Bestland Garage Door Service.
Related Posts
See What Our Customers Have to Say About Our Service
See What Our Customers Have to Say About Our Service
REQUEST A CALLBACK
Need Repair Service or New Door?
Complete the form, and one of our team members will promptly reach out to schedule your appointment.